Set Up the DNN Folder and the User Account


Steps
- Give Full or Modify permissions for the DNN installation folder to the user account that will run your website.
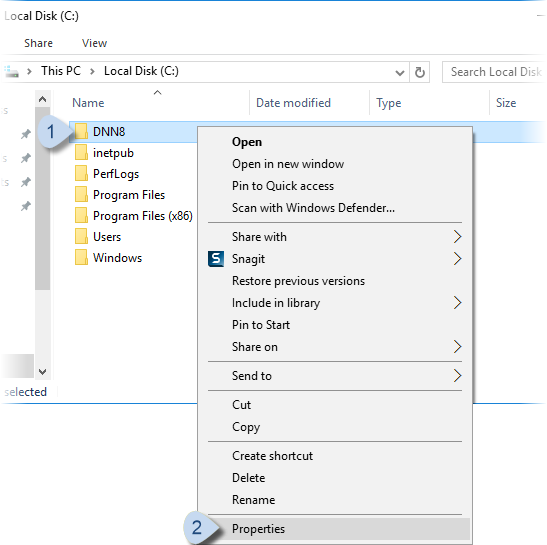
- In Windows Explorer, right-click on the DNN installation folder, and choose Properties.
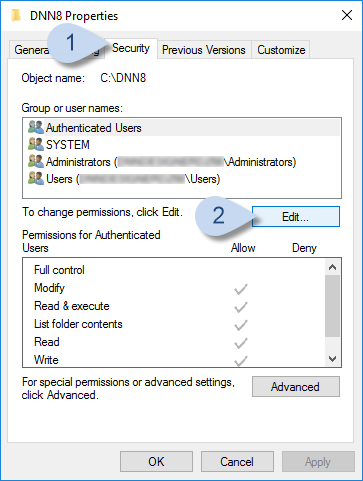
- Go to the Security tab and click/tap Edit....
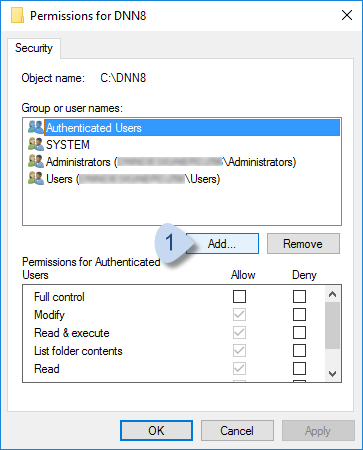
- Click/Tap Add....
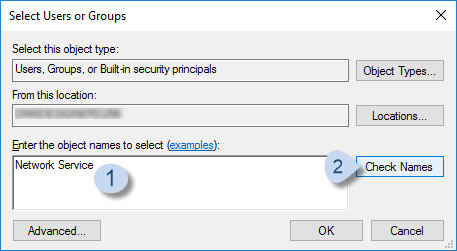
- In Select Users or Groups, enter the user name, then click/tap Check Names. After the name is resolved, click/tap OK.
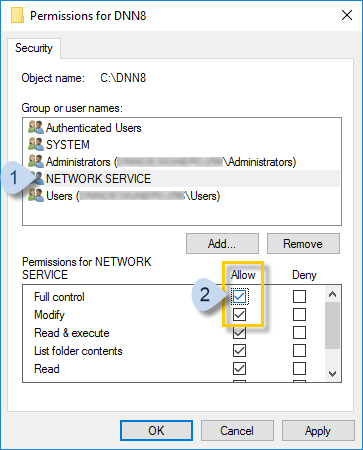
- Highlight the newly added user name and check Full Control and Modify under Allow.
- In Windows Explorer, right-click on the DNN installation folder, and choose Properties.